Microchipping Pets: A Complete Guide for Rescue Organizations
Everything a rescue needs to know about microchipping — chip types, scanners, registration, and how to build chipping into your intake workflow so no animal leaves without one.
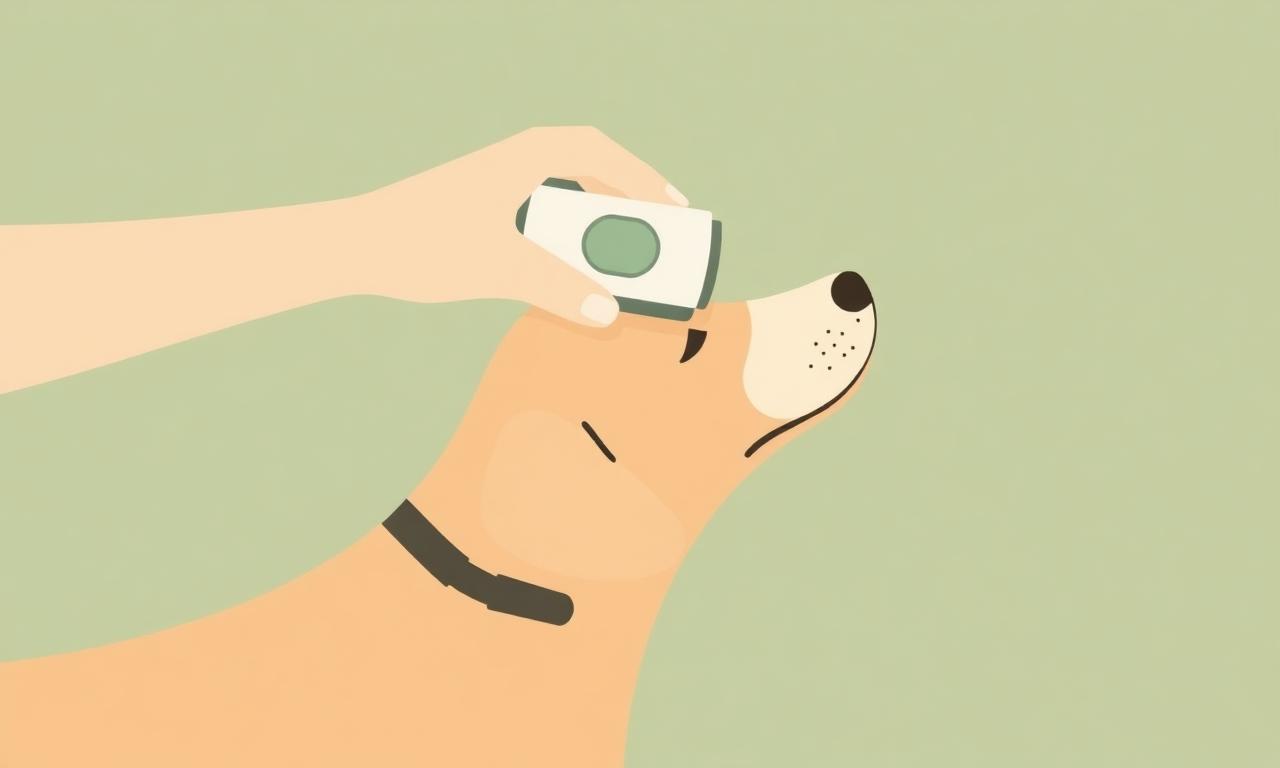
A microchip is the most durable, tamper-proof form of animal identification that exists. Unlike collars and tags, it can't fall off, get lost, or be removed. A chipped animal that ends up in a shelter has a path home. An unchipped animal depends entirely on someone recognizing it or a poster reaching the right person.
For rescues, microchipping should be a non-negotiable step in the intake and adoption process. Here's what you need to know to do it right.
How microchips work
A microchip is a radio frequency identification (RFID) device about the size of a grain of rice. It's injected under the skin between the shoulder blades with a needle — no anesthetic required for most animals. The chip doesn't have GPS; it stores only a unique ID number.
When a scanner is passed over the chip, it reads the ID number. That number is then looked up in a microchip registry to find the registered owner's contact information.
The chip itself is passive — no battery, no moving parts. It lasts the animal's lifetime.
Check for an existing chip at intake
The very first thing you do when an animal comes in is scan for an existing chip. Before anything else.
Use a universal scanner. Not all scanners read all chip types — there are three main frequencies in use (125 kHz, 128 kHz, and 134.2 kHz). A universal scanner reads all of them. Budget scanners from single-frequency manufacturers will miss chips.
Scan the neck, between the shoulder blades, and do a slow pass over the entire body — chips migrate, especially in cats.
If you find a chip number, look it up immediately:
- AAHA Universal Pet Microchip Lookup (lookup.aaha.org) — searches multiple registries
- PetLink, HomeAgain, AKC Reunite (the major US registries individually)
- Save the chip number in the intake record regardless of whether you find a registration
Which chips to implant
In North America, the standard is ISO 15 digit chips (134.2 kHz). Use ISO-compliant chips for all new implants. This is the international standard, which matters if animals travel across borders or end up in shelters that use international scanners.
Chips come pre-loaded in a syringe with a unique ID number. The number is printed on the chip packaging and on a label you attach to the animal's record. Keep this label — it's your only record of the chip number if the animal is later scanned elsewhere.
Buy in bulk if you have the volume. Chips in bulk from suppliers like Biopet, Datamars, or through AVID cost significantly less per unit than individual purchases.
Who implants the chip
In most US states, microchip implantation must be performed by a licensed veterinarian. Some states allow trained rescue personnel to implant. Check your state's veterinary practice act.
For rescues with a vet partner, build chipping into the intake exam so every animal gets chipped and recorded at the same visit.
For foster-based rescues without a clinic relationship, low-cost microchipping events (PetSmart Charities, local humane societies, vet school clinics) can handle bulk chipping. Plan ahead — don't let animals sit in foster homes unchipped for weeks.
Registration: the step everyone skips
A chip without registration is nearly useless. The chip ID number is meaningless without a registry entry that connects it to a phone number.
Register every chip you implant — immediately, at the time of implantation, before the animal leaves your facility.
Use a registry that:
- Is searchable through the AAHA Universal Lookup
- Allows you to transfer registration to the adopter (critical — adopters must be the registered owner)
- Has a reasonable lifetime registration option (one-time fee beats annual fees for adoption situations)
PetLink and HomeAgain are the most widely used. Found Animals offers free lifetime registration. Register with one and add the number to AAHA Universal Lookup.
When the animal is adopted, transfer registration to the adopter. Send them the chip number, the registry name, and clear instructions. Make updating registration contact info part of your adoption checklist.
Build chipping into your workflow
Microchipping fails when it's an afterthought. Build it in:
Intake workflow:
- Scan on arrival (universal scanner)
- Record chip number (or "none found") in intake record
- Flag for chipping if no chip found
Pre-adoption checklist:
- Confirm chip number in record
- Confirm chip is registered to your rescue (as current custodian)
- Confirm adopter has received transfer instructions
- Adopter signs acknowledgment of chip number and registration responsibility
Adoption packet: Include a printed card with the chip number, the registry name and URL, and instructions for updating registration if they move or change phone numbers.
What to do when a chip number returns no registration
This happens frequently. Someone chipped an animal years ago, never registered it, and the chip is essentially dormant.
When you find this:
- Note the chip number in your intake record
- Register the chip to your rescue in your preferred registry (you can register any chip number)
- Now the animal has a functional, searchable registration
If the animal is later returned to a previous owner who can prove ownership, you can transfer or delete the registration. The important thing is that the chip is registered to someone — the rescue, the foster, anyone — so that if the animal is lost, it can be found.
Free for small rescues
Put this into practice with Fosterling.
Intake, foster matching, adoptions, and a public lost & found — in one calm place.
Start your rescue free